 |
| Our little garage shop is humming now that we are wired for welding |
Our little Jeep needs an exhaust. Right now it lives in the garage under a sleeping newborn and six am is a little early for our 4.0 to be rumbling the bedroom floor. Now normally I would farm out something as simple as an exhaust tailpipe but after months of searching and asking around I was still coming up short on a reliable exhaust shop here in town. For someone who is particularly picky about how his rigs are put together hearing that most of my enthusiast buddies had no exhaust shops they would trust with their own cars is pretty disheartening. In yet another f*** it I'll do it myself moment we wired up our garage for our trusty 220 welder and set to stacking up the parts we needed. We pulled this little number off with minimal special tools (angle grinder, welder, a few angle measuring devices) so we're going to show you that any garage enthusiast with a little weld know how can put together a clean custom exhaust for your rig.
 |
Problem 1, our two chamber muffler from our original build was used as a skidplate for a number of years, at one point it was pushed up so hard that it put a nice muffler shaped dent in the floor.
|
 |
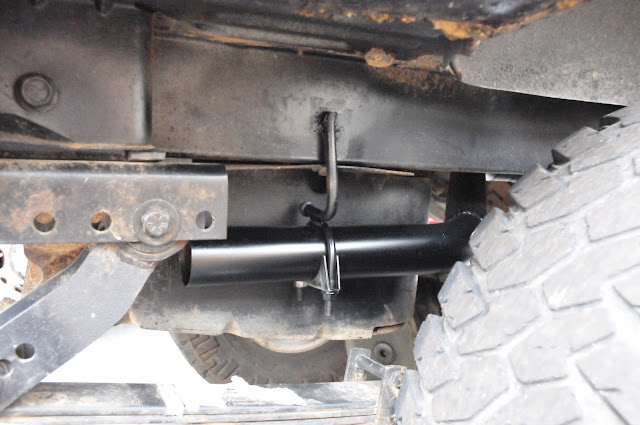
Problem 2, our cobbled together system dumps underneath the jeep directly on top of our 8.8 (notice the big black stain). It was fun and loud while we lived on the trailer, but for a family crawler/overlander its just not a safe and quiet setup.
Since budget is always a factor we gave the nod to Summit Racing for some universal exhaust parts. For our setup we selected some 2.5 inch 180 degree mandrel bends, some extra tubing, and a Summit racing 409 welded stainless muffler. The Summit parts seem to have a high function to dollar ratio and at half the cost of its Magnaflow equivalent it was a gamble we were willing to take.
 |
As luck would have it the two 180's were enough to get this project done, we only ended up with 1/2 of one left. We bought too much straight pipe but it's cheap and good to have around.
|
|
 |
The swazall made quick work of our old beaten exhaust.

First we got our straight pipe in and our muffler slipped on to check fit. The muffler has some pretty long ends on it so we made sure we left enough on our pipe to fine tune the position once the rest of the system is built. And before I hear anyone pipe up about the lack of catalytic converter don't worry, our unit is a 2000 and maintains the two cats in the headpipe to remain emissions legal.
|
 |
This handy dandy little harbor freight angle finder was a big help with eyeballing the tailpipe angles. I sometimes find it helpful to work with a piece of scrap tubing to make sure the tubing will fit along the route we plan on taking.
|
|
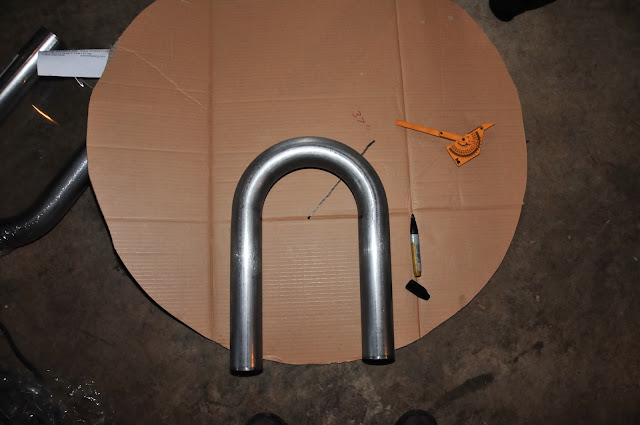
To cut out the angle we need we draw out our angle we eyeballed onto a sheet of cardboard and line up the start of the bend with our horizontal line that our angle is measured from. Make sure the start point is centered between the tubes and take note of the distance from that point to the pipe. That is the bend radius (in our case 9.5cm) and it will be important for future cuts from this bend.
 |
It's best to tack as many of the small pieces together outside of the vehicle. Up underneath it can be difficult to keep everything positioned right for tack welding so its best to work with large straight sections at once.
|
|
After a few measure, cut, fit, tack, repeat cycles our tailpipe really started to take shape.
 |
With our tailpipe all tacked together it's as simple as finish welding our pipe out and checking to make sure the system fits together.
|
|
|
|
|


Looks great! This is something I have put off for a few years now, in part due to the local shops as you have found out & not pushing myself to do it as you did...
ReplyDelete