Today im going to cut my teeth for product reviews with HD offroad engineering's frame stiffeners. Anybody who has wheeled a Jeep Cherokee XJ knows that the unibody "frame rails" are very thin sheet metal (layered 16 ga. in some areas). This frame creates two very significant problems for the xj enthusiast, 1. the frame is very susceptible to denting and damage and can lead to overall unibody fatigue with hard use and 2. the light duty frame provides a poor structure for custom parts (suspension crossmembers, cages, rocker protection etc.) To solve these problems HD offroad engineering has developed their version of "frame stiffening" sleeves for the Jeep XJ. These consist of 10ga steel plate formed specifically to the xj framerail and drilled for rosette welds. The frame stiffener's i'll be installing today extend from the front lca bracket to the front of the leaf spring bracket, but HDoffroad offers a full stiffener set that consists of three pieces that cover the front frame section all the way to the rear of the jeep.
Install
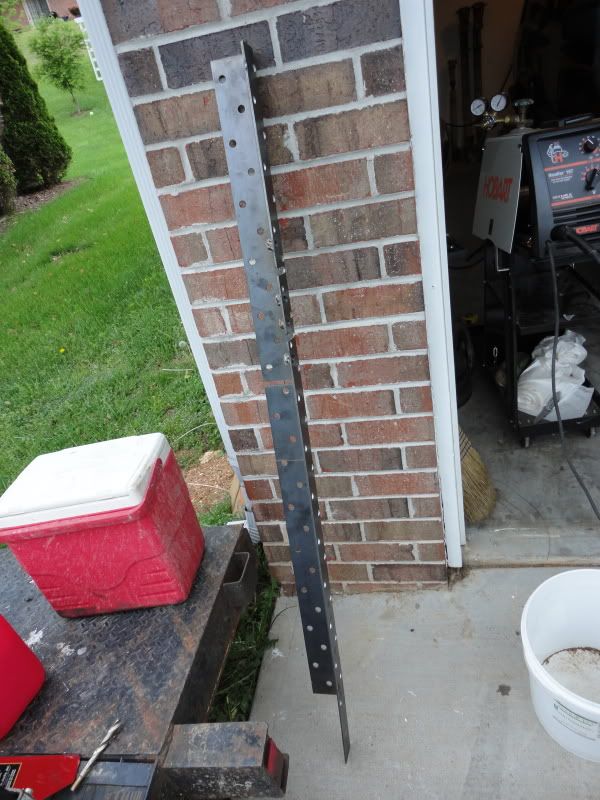
The stiffeners come pre formed for the shape of the xj frame with the exception of the small rise that occurs just behind the transmission crossmember, however the stiffener itself is also segmented for this bend in the xj frame so not to worry. Here is the freshly unpacked stiffener-
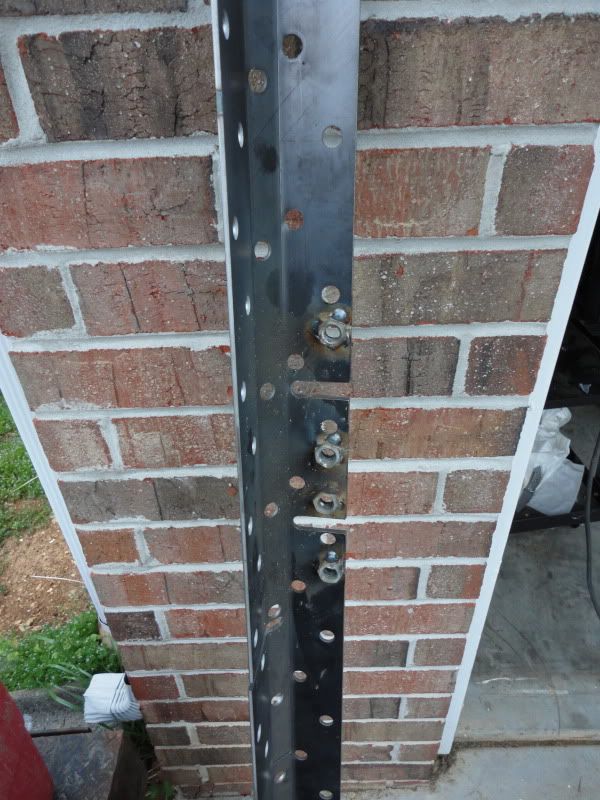
The jeep receiving this set of stiffeners is also getting a custom suspension that needs a strong mounting point for the crossmember. In order to accomplish this i welded 4 half inch grade 8 nuts to the inside of the siffener. This will provide a stronger point to mount the suspension and spread the load to ease the strain on the light duty framerail. In this photo note the slots pre cut into the bottom side of the stiffener for the factory crossmember bolts.
These slots provide the benchmark with which to locate the stiffener properly on the framerail. To prep the jeep I used a 36 grit flap disc to strip the framerail of all paint and undercoat. No jeep is the same and some will have more undercoat than paint or vice versa. Luckily the rails on this 2001 xj were mostly paint and came clean easily. It is important to get the framerail as clean as possible and continually check the fit of the stiffener to make sure all the edges have enough clean metal to weld to.
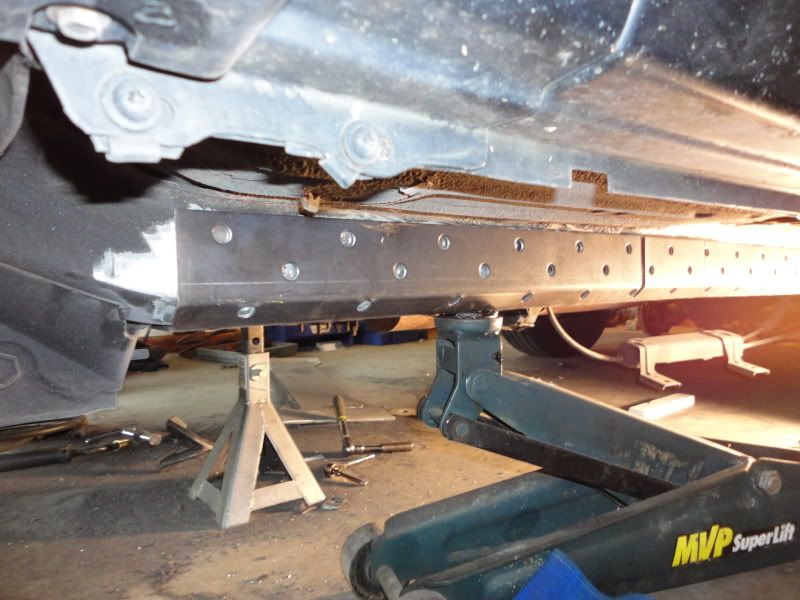
Using the factory crossmember bolts to get the stiffener located properly i used a floor jack to provide enough pressure for a tight fit. The tighter the fit the more support it will provide and the plug welding process will be much easier.
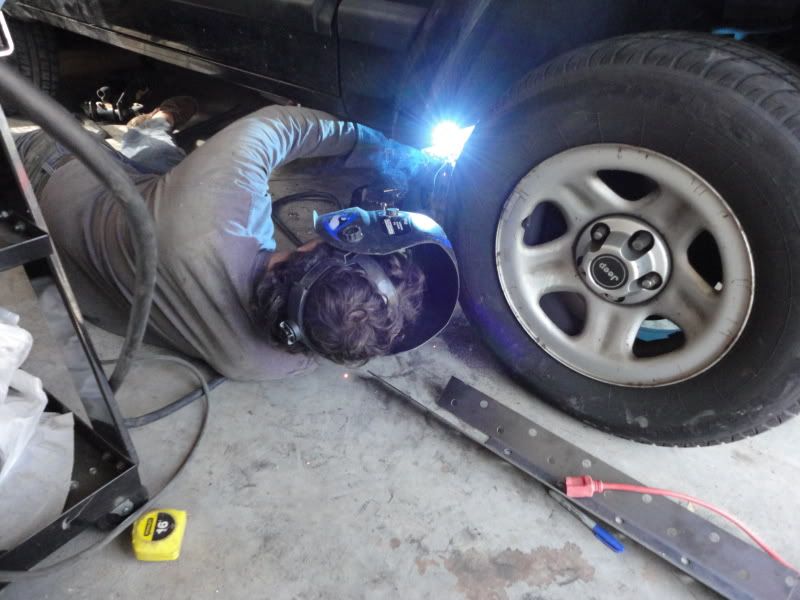
Since every xj frame is a little bit different due to mileage, accident history etc, the stiffener may require some massaging with the BFH for an exact fit. I tacked it on along the edges and a few plug welds per section to secure it. Moving towards the rear i used the floor jack to provide the pressure to form it to the bend in the frame, continuing to tack the edges in along with some of the plug welds. Once the entire stiffener is in place the plug weld-a-thon starts.

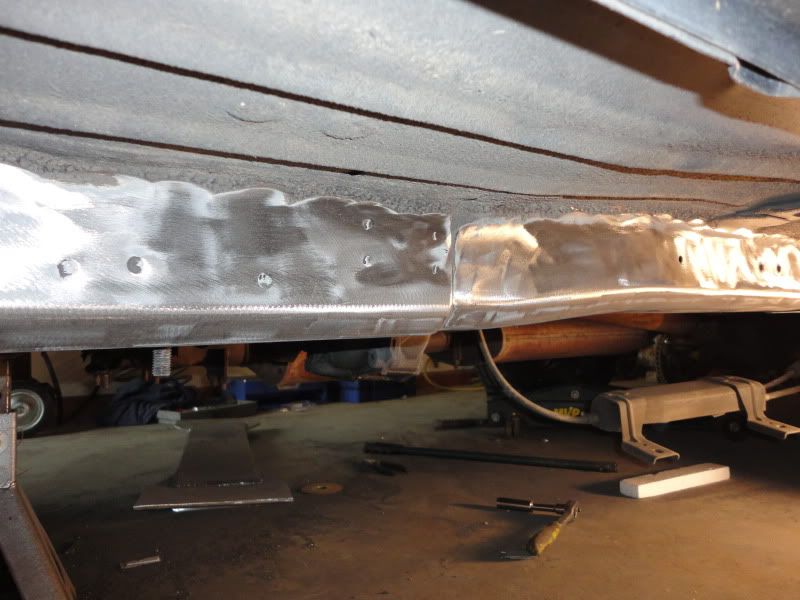
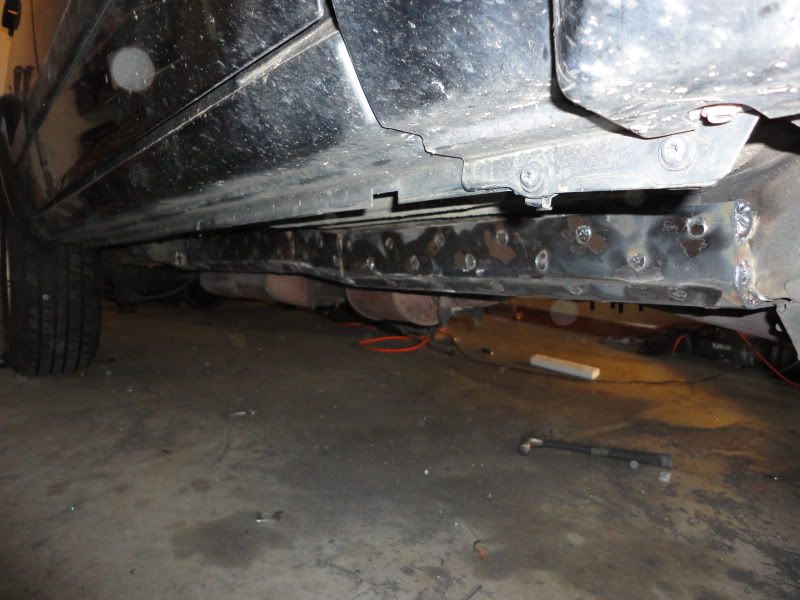
Dont be in too big of a hurry to finish the rosettes, i let each one cool a bit before starting the next one and worked my way towards the center. After doing two or three sets of these i've found its best to do each hole in halves, top half first then fill in the bottom. This prevents the frame material from burning through. Finally i welded the front and rear edges, and welded 6-8 inch sections every 2 inches along the inside for even more support. Here is the finished rail after cleaning with a flap disc, make sure you paint it well to protect against rust.
Conclusion
Ive run these stiffeners in my previous rig and have been more than satisfied with the support they provide the xj unibody. In this jeep they provided a good solid mounting point for the new 2x6x3/16 crossmember and i can already feel the difference daily driving it. After building xj's for the past 5 years it's my opinion that this should be the first modification to any jeep that will see offroad use, and it will prolong the life of the body under varying degrees of abuse. Weekend wheeler or full on chopped up and built, every xj on the trail can benefit from a set of frame stiffeners underneath.